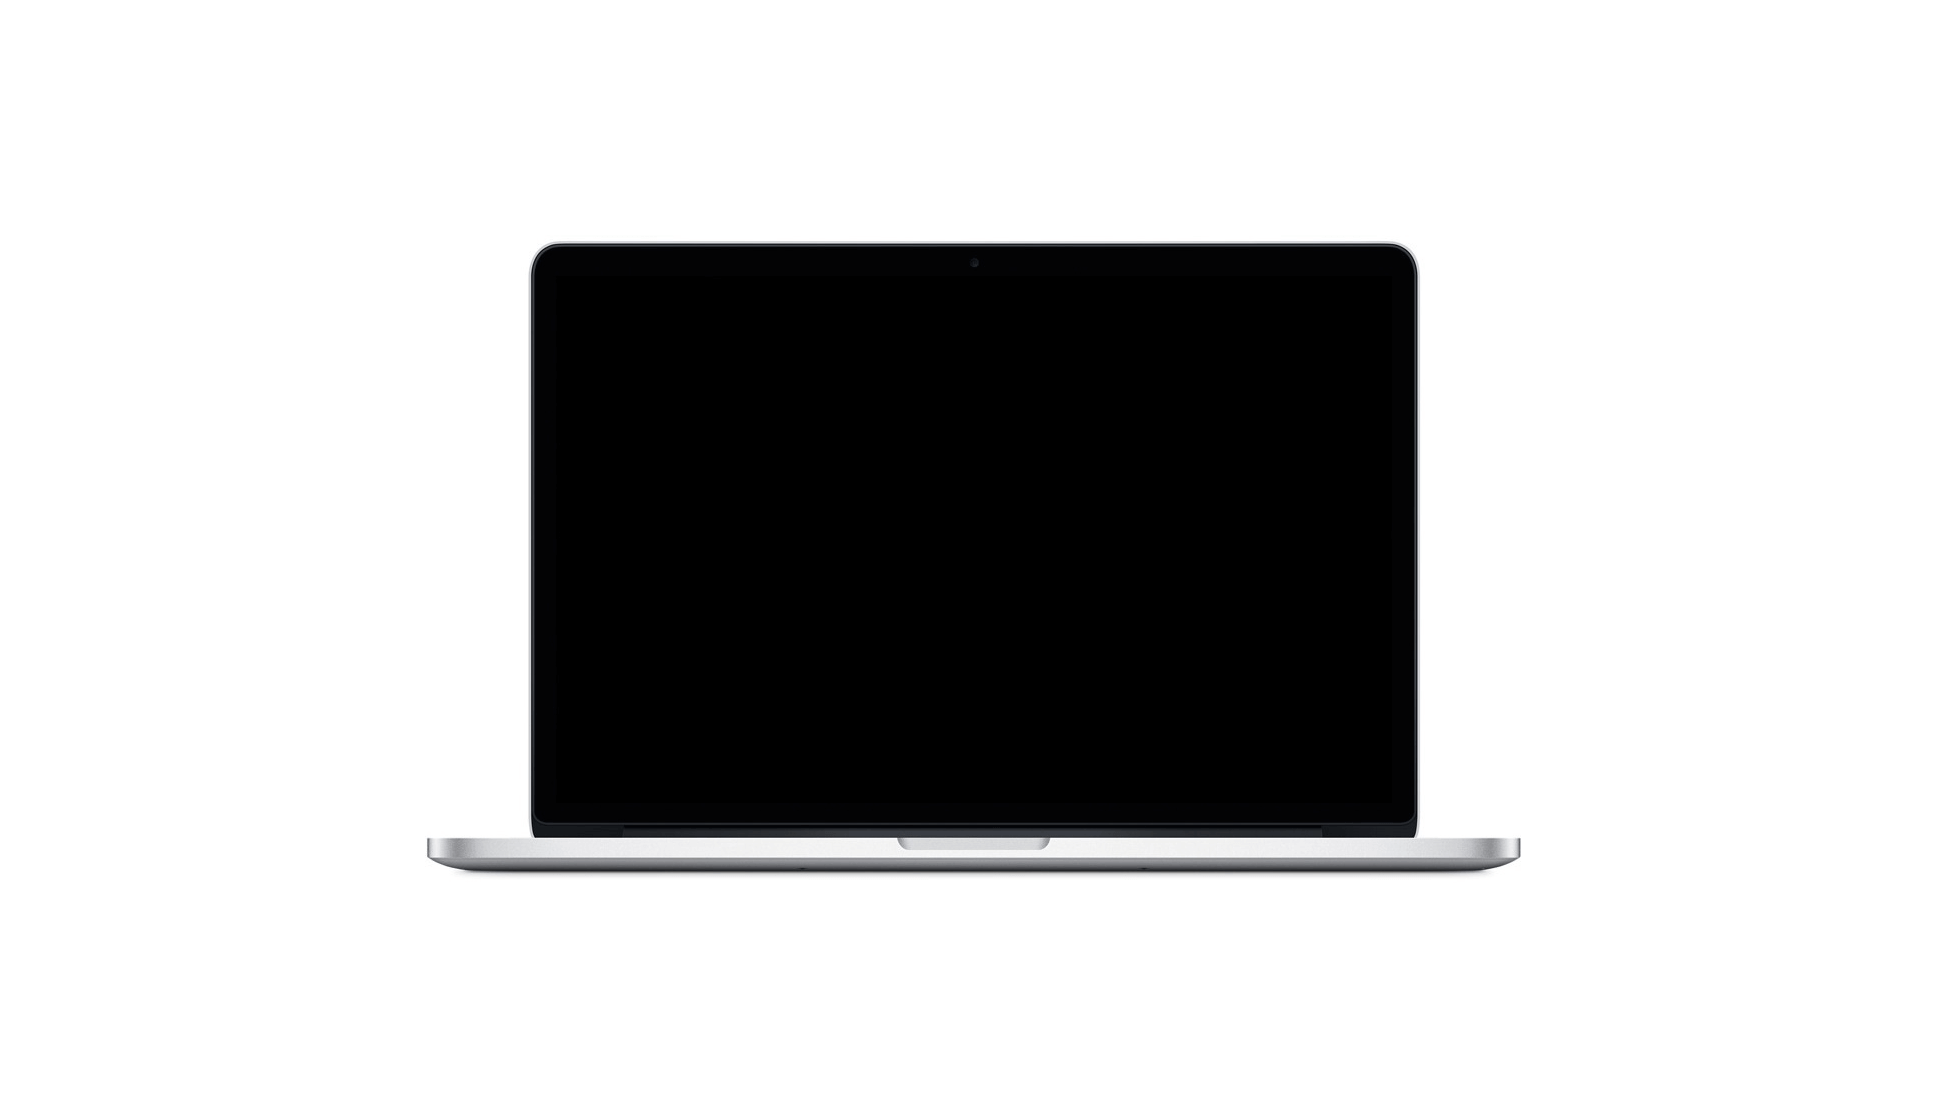
Wondering how you can fix the black screen after macOS Big Sur update?
The new Big Sur update has captured the attention and excitement of many Apple users. With the promise of an upgraded messaging app, Safari, notification window, and more, there’s a lot to love from Big Sur.
In fact, if you’re reading this, you’ve probably tried updating to the new macOS system already. However, a black screen is undoubtedly the last thing you expected when waiting for the update to finish.
Thankfully, you’re not alone when it comes to this problem. Here’s how you can fix your black screen after the macOS Big Sur update issue.
Let’s get started!
- 1. Reset your SMC.
- 2. Reset Your NVRAM.
- 3. Reinstall Big Sur Through Recovery Mode.
- 4. Contact Apple’s Customer Support Team.
1. Reset your SMC.
Your Mac has a built-in chip on the logic board that’s responsible for the power functions of your computer. This chip is directly related to power, settings, and other configurations in your operating system.
By resetting your SMC chip, certain settings on your computer will revert to their optimized configurations. This should hopefully both speed up your computer and give your Mac a good enough reset to function properly again.
The steps for this method vary with each Mac model. Due to that, we’ll provide the instructions for all types of Mac computers down below.
Here’s how you can reset your SMC for a MacBook with a non-removable battery:
- First, you’ll need to power off your Mac by clicking on the Apple menu at the top-left corner of your screen and clicking on Shut Down.
- Now, press the Shift + Control + Option keys simultaneously on the left side of your Mac’s keyboard together with the power button. Do this for about 10 seconds. Alternatively, you can use the Touch ID button as the power button if you have that available.
- Finally, remove your fingers from the keys after 10 seconds and press the power button to turn on your Mac.
Moreover, here’s how you can reset your SMC for a MacBook with a removable battery:
- Just like the previous steps, start by shutting down your MacBook.
- Once your MacBook has been powered down, remove the battery.
- Next, press and hold the power button for around five seconds.
- After that, install the battery back to your MacBook
- Finally, press the power button again to turn on your Mac.
Feel free to skip this method altogether if you’re uncomfortable with removing your battery. You can also have it professionally checked if it isn’t too much of a hassle.
For desktop users, here’s how you can reset the SMC of your Mac:
- Shut down your Mac and, after a few seconds, unplug the power cable.
- Lastly, wait for about 20 seconds before plugging the power cable back in and pressing the power button after a 10-second interval.
With that out of the way, you should have your SMC chip completely reset. However, for Macs with the T2 chip, you can find the lengthy instructions for your computers here. Hopefully, this fixed the black screen problem that you got after the macOS Big Sur update.
2. Reset Your NVRAM.
Your nonvolatile random-access memory—or NVRAM—is a small amount of memory that’s utilized by your Mac to store your preferences and settings. On that note, the settings for your Big Sur update could be compromised which should be fixed with a simple reset.
Restarting your NVRAM doesn’t remove any personal data, so rest assured that your files will remain untouched. What does get changed, however, will be your personal preferences that you’ve previously set on your Mac’s settings.
Here’s how you can reset your NVRAM:
- Similar to the method above, you’ll want to start by shutting down your Mac.
- After it’s turned off, power it on and immediately press the Option + Command + P + R keys for about 20 seconds. Your Mac might seemingly restart during the 20-second period, which is completely normal.
- Alternatively, for Macs with the T2 Security Chip, you can take your fingers off the keys after the Apple logo appears and disappears from your screen for a second time.
Open your System Preferences window and look through your settings to see if any of your settings were reverted to their default orientation. Your settings being configured to their default option is a clear sign that your NVRAM was successfully reset.
3. Reinstall Big Sur Through Recovery Mode.
If you’re still running into the black screen error after all of that, then you might want to consider installing the Big Sur update through recovery mode. Depending on the state of your Mac, this shouldn’t delete any of your personal files.
However, it will erase all currently installed apps on your Mac. At the same time, you’ll also have to reset your settings back to the preferences that you set them to as these will also be reverted to their default orientation.
Here’s how you can reinstall Big Sur through recovery mode:
- Power down your Mac and turn it back on. After pressing the power button, immediately press and hold the Option + Command + R keys at the same time. Hold these keys down until you can see the Apple logo or a spinning globe.
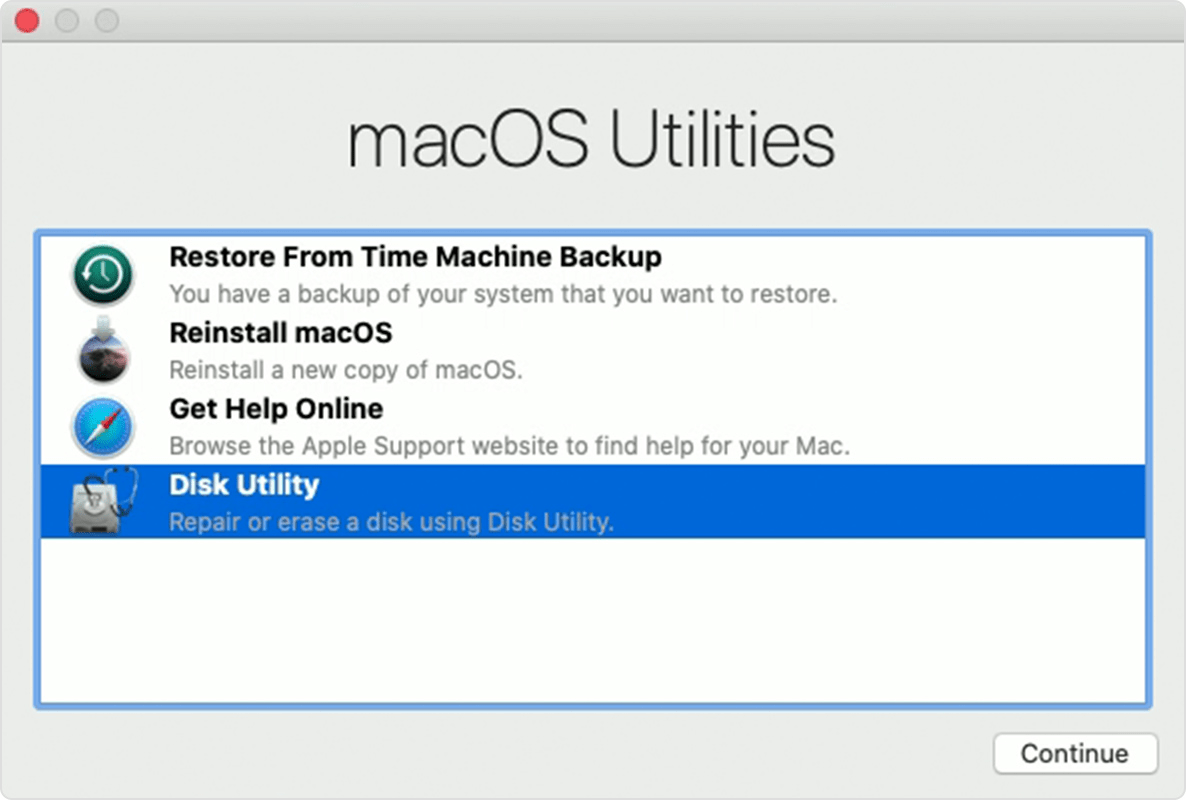
- You might be asked to enter your password. Once that’s done, the macOS Utilities window should open on your screen.
- From there, click and select Reinstall macOS.
This will uninstall and replace your current macOS with the latest version which is currently macOS Big Sur. Hopefully, this will fix your black screen problem after your macOS Big Sur update.
4. Contact Apple’s Customer Support Team.
Finally, if you’ve exhausted all the methods above, it’s time to let Apple know about your current situation. A lot of other users are suffering from this problem and we highly encourage that you contact Apple’s customer support team.
While getting in touch with Apple’s support team can be a hassle, we’ve written out a complete guide as to how you can contact them easily. Here’s how you can contact Apple’s online live support team.
With that out of the way, you may also want to get your Mac checked at an official Apple Store near you.
That about wraps up this article. Hopefully, we’ve helped you fix the black screen problem you ran into after your macOS Big Sur update. If you have any questions or clarifications, feel free to leave us a comment down below.
If this guide helped you, please share it. 🙂


