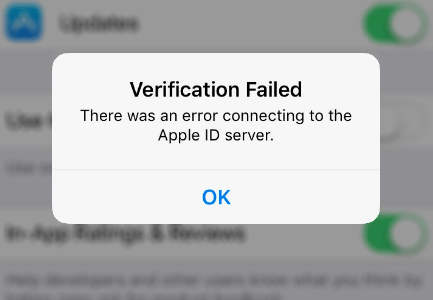
Getting stuck whilst trying to log into your iTunes, Apple Store, and Apple ID because of the ‘Verification Failed: There was an error connecting to the Apple ID server’ error?
Signing in to your Apple ID can be a bit of a hassle sometimes. You might forget your password, have the login feature bug out on you, or even be rejected from connecting to the Apple ID server.
This annoying experience can be very infuriating, especially when you’re in a hurry. Although it might seem like the error is rooted in a complication with your Apple ID, more often than not, this may not be the case.
The problem could be attributed to your network or Wi-Fi, as a faulty and compromised connection can result in Apple rejecting your login request. We have compiled a list of solutions that will help fix your error in connecting to the Apple ID Server.
Let’s get started!
- 1. Restart Your Device.
- 2. Check Apple’s Servers.
- 3. Date & Time Settings.
- 4. Connect Through Wi-Fi or Mobile Data. (iPhone and iPad only)
- 5. Logging Back Into Your Account.
- 6. Reboot Your Wi-Fi Network.
- 7. Generate a Verification Code Through Another Apple Device. (iPhone Only)
- 8. Turn Off Any VPNs.
- 9. Change Your Apple ID Password.
- 10. Reset Network Settings. (iPhone, iPad, and iPod Only)
- 11. Update Your Device’s Operating System.
1. Restart Your Device.
Your iPhone, Mac, or other Apple may have run into a network problem over the period that you were using it. Restarting your device will give it a fresh start and boot your all your settings from scratch.
The subsequent methods listed below will involve configuring and possibly resetting your device settings, which can take more steps and instructions. So let’s avoid that by first, restarting your device!
Here’s how you can restart your iPhone, iPad, or iPod:
- First, hold the power button on your device for several seconds.
- Next, a red slider should appear to power off.
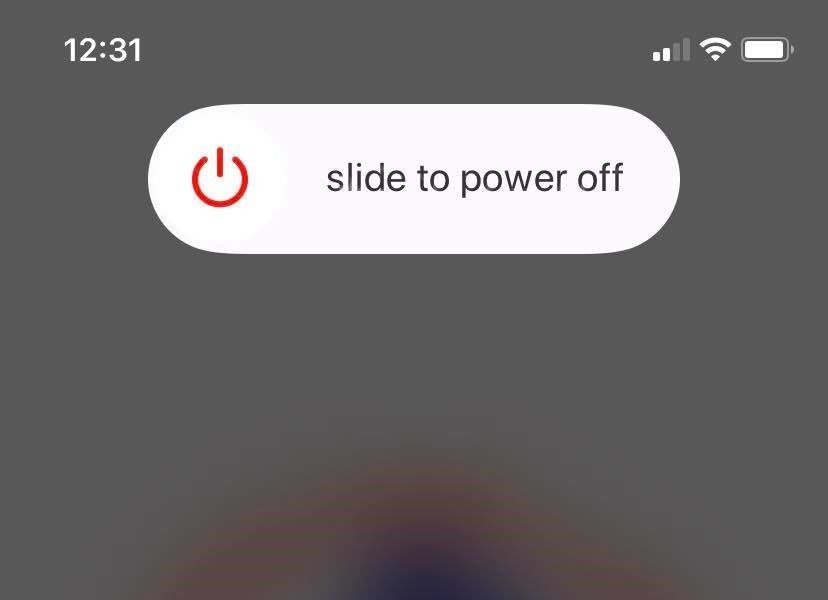
- Swipe it to the right, then wait for 20 seconds.
- Lastly, turn your phone on again by holding the power button.
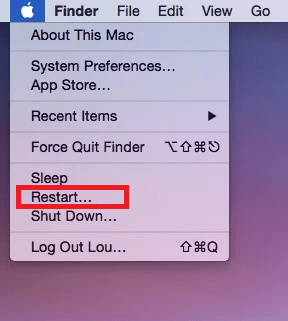
Alternatively, here are two ways you can restart your Mac machine:
- Open your Apple menu by clicking on the Apple logo located at the top left of your screen.
- Next, select Restart.
or:
- Press and hold down the power button until you see options.
- Then, select Restart.
Now try and see if you can connect your Apple ID! If the problem persists, go ahead and proceed to the next methods.
2. Check Apple’s Servers.
Like all electronics, Apple’s servers go through regular maintenance as well. This can be because they’re fixing a problem, upgrading the existing servers, or simply to spot for defects in the hardware before an unexpected crash happens.
Here’s a quick and easy way to check on the status on Apple’s servers:
- Simply open your browser window through your mobile device or PC and open Apple’s System Status page.
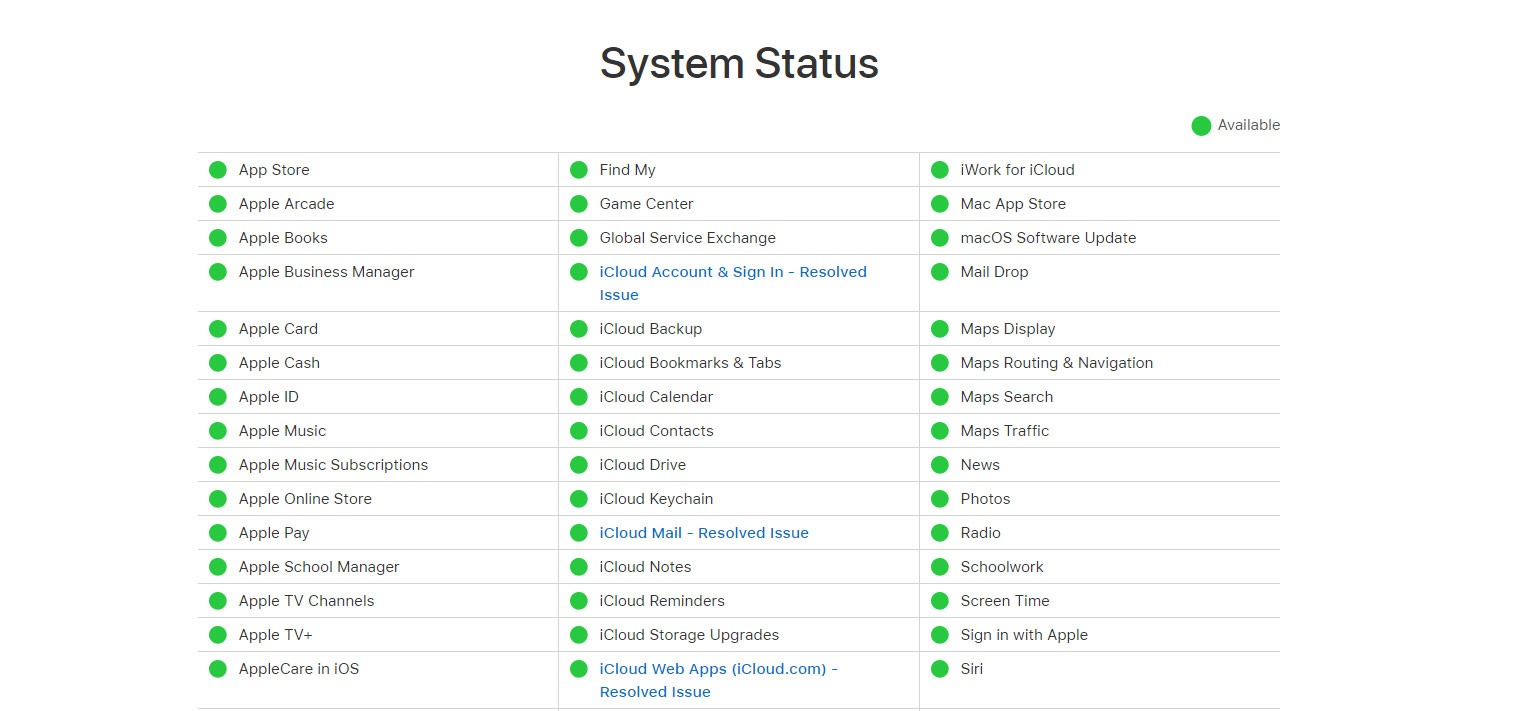
The link should take you to a webpage that displays all of Apple’s servers. If the server you’re trying to connect to is green, then it is up and running. Anything other than that means it is under maintenance and sadly for this case, all you can do is wait for Apple to fix it.
3. Date & Time Settings.
One protocol and requirement of getting into most servers is having the universally correct date and time set on your device.
This is because a lot of complications can happen between your local time and the online standard. More often than not, your ‘Date & Time’ settings can malfunction after an iOS/macOS update, network connectivity failure, or just in general.
In fact, this solution has been one of the most suggested by users who also encountered the ‘Verification Failed: There Was an Error Connecting to the Apple ID Server” error.
Here’s how you can configure your ‘Date & Time’ settings for your mobile device:
- Go ahead and open your Settings from the home screen.
- Then, look for and tap on General.
- Now, open Date & Time.
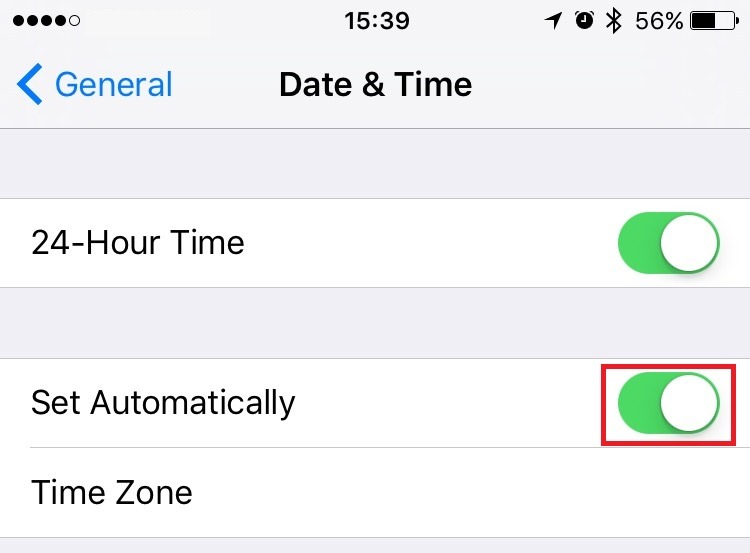
- Turn on ‘Set Automatically‘ and configure your Time Zone to your geographical location.
Alternatively, here’s how you can configure your ‘Date & Time’ settings on your Mac:
- First, open your Apple menu then proceed to System Preferences.
- Next, click on Date & Time.
- Finally, select Set date and time automatically and then choose your region.
Now if your settings are already set to automatic, try to disable and enable ‘Set Automatically’ to refresh your settings. Try logging into your Apple ID again.
4. Connect Through Wi-Fi or Mobile Data (iPhone and iPad only).
Perhaps your Wi-Fi network or cellular data is experiencing issues due to your providers. Complications in your network connection can deny you access to Apple’s servers for safety reasons.
Wi-Fi networks are known to occasionally malfunction, especially if any of its cables aren’t securely attached. Your mobile data isn’t immune to bugs and glitches either. In a later method in this post, we will guide you through a series of steps to reboot your Wi-Fi modem and reset your cellular network settings.
For now, here’s a series of steps to help you switch from Wi-Fi to your mobile data or vice versa:
- First, open your Control Center by swiping up from the bottom of your screen.
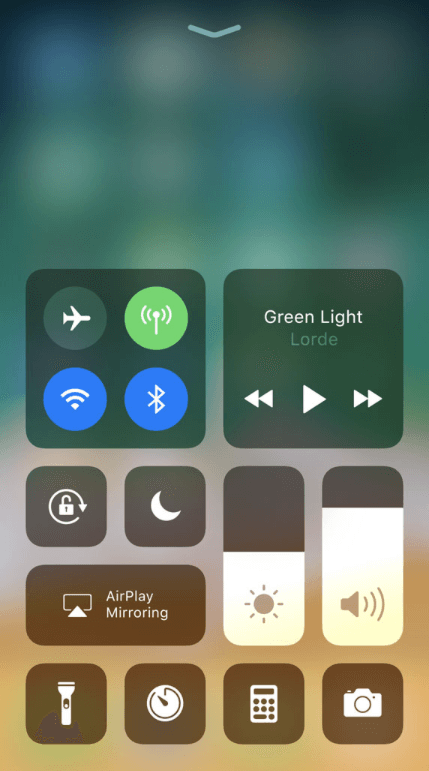
- Next, tap on the Wi-Fi icon to disable it.
- Finally, enable your data by tapping on the Cellular Data.
Now try and login to your Apple ID! Alternatively, to connect with your Wi-Fi instead of your Cellular data, simply repeat Steps 1 to 3 but enable your Wi-Fi and disable your cellular data.
5. Logging Back Into Your Account.
Apple IDs can get stuck in servers due to bad internet connections, laggy servers, and so on. It isn’t uncommon for a copy of your account’s request to be already on its way to Apple’s servers which can cause complications as you continue to send more requests.
The equivalent of restarting your device to fixing your connection to Apple’s servers is by logging out of your account. This will terminate your existing active status on Apple’s servers so that when you log back into your account, the servers will place you in a new instance.
Here’s how you can re-login into your Apple ID account via your Mac:
- Go ahead and open the Apple menu at the top left of your screen.
- Next, click on System Preferences.
- Now, select Apple ID and select Overview in the sidebar.
- Then, click on Sign Out.
- Finally, sign back into your Apple ID and see if this fixes the problem.
This should fix your Apple ID connection error. If you prefer to do it via your iPhone or iPad here are the steps to do so:
- First, open up your Settings.
- Second, scroll down and go to the iTunes & App Store.
- Tap on your Apple ID and Sign Out.
- Lastly, sign in with your Apple ID again.
Re-logging into your Apple ID should fix the “Verification Failed: There Was an Error Connecting to the Apple ID Server” problem you’ve been experiencing. However, if the error continues, proceed to the next method.
6. Reboot Your Wi-Fi Network.
Does your internet connection randomly cut off? Or does your household run on Wi-Fi 24/7?
In any case, turning off your Wi-Fi modem for a few minutes can increase its lifespan by giving it a well-deserved rest.
However, for this method, we will only be rebooting/restarting it. Your Wi-Fi network, in a nutshell, is really just an IP or node in an electrical grid that’s receiving and transmitting data to your provider. In the unlikely case that your internet modem may have had its connection cut or malfunction, restarting it will have it working again like normal.
Take note that just because you are connected to the internet does not mean certain parts of your connection have malfunctioned. This fix can work for many other errors, especially if your Wi-Fi is not restarted regularly or has the tendency to cut off at random moments.
Here’s how you can reboot your Wi-Fi or internet modem:
- Internet modems come in all shapes and sizes. If you don’t know how your modem works, you should first contact your provider or a family member who is knowledgable to avoid damaging your modem or loosening any of its wires.
- Most power switches on modems are located behind it. Try and look for a small button and click on it. If that was the power button, then your Wi-Fi’s lights should all be turned off.
- Wait a couple of seconds or a full minute before pressing the same button to turn it on again.
Now go ahead and try to connect to your Apple ID through your iPhone, Mac, or so on to see if this fixes the issue.
7. Generate a Verification Code Through Another Apple Device. (iPhone Only)
Sometimes logging out and in of your account might not fully sync your Apple ID to the servers. This can be caused by an authentication error in the system.
However, verifying your account through a code sent to another device is reportedly an easy fix for resolving this connection error. To do this step, you’re going to need to borrow someone’s iPhone for a minute.
Here’s how you can generate a verification code through another Apple device:
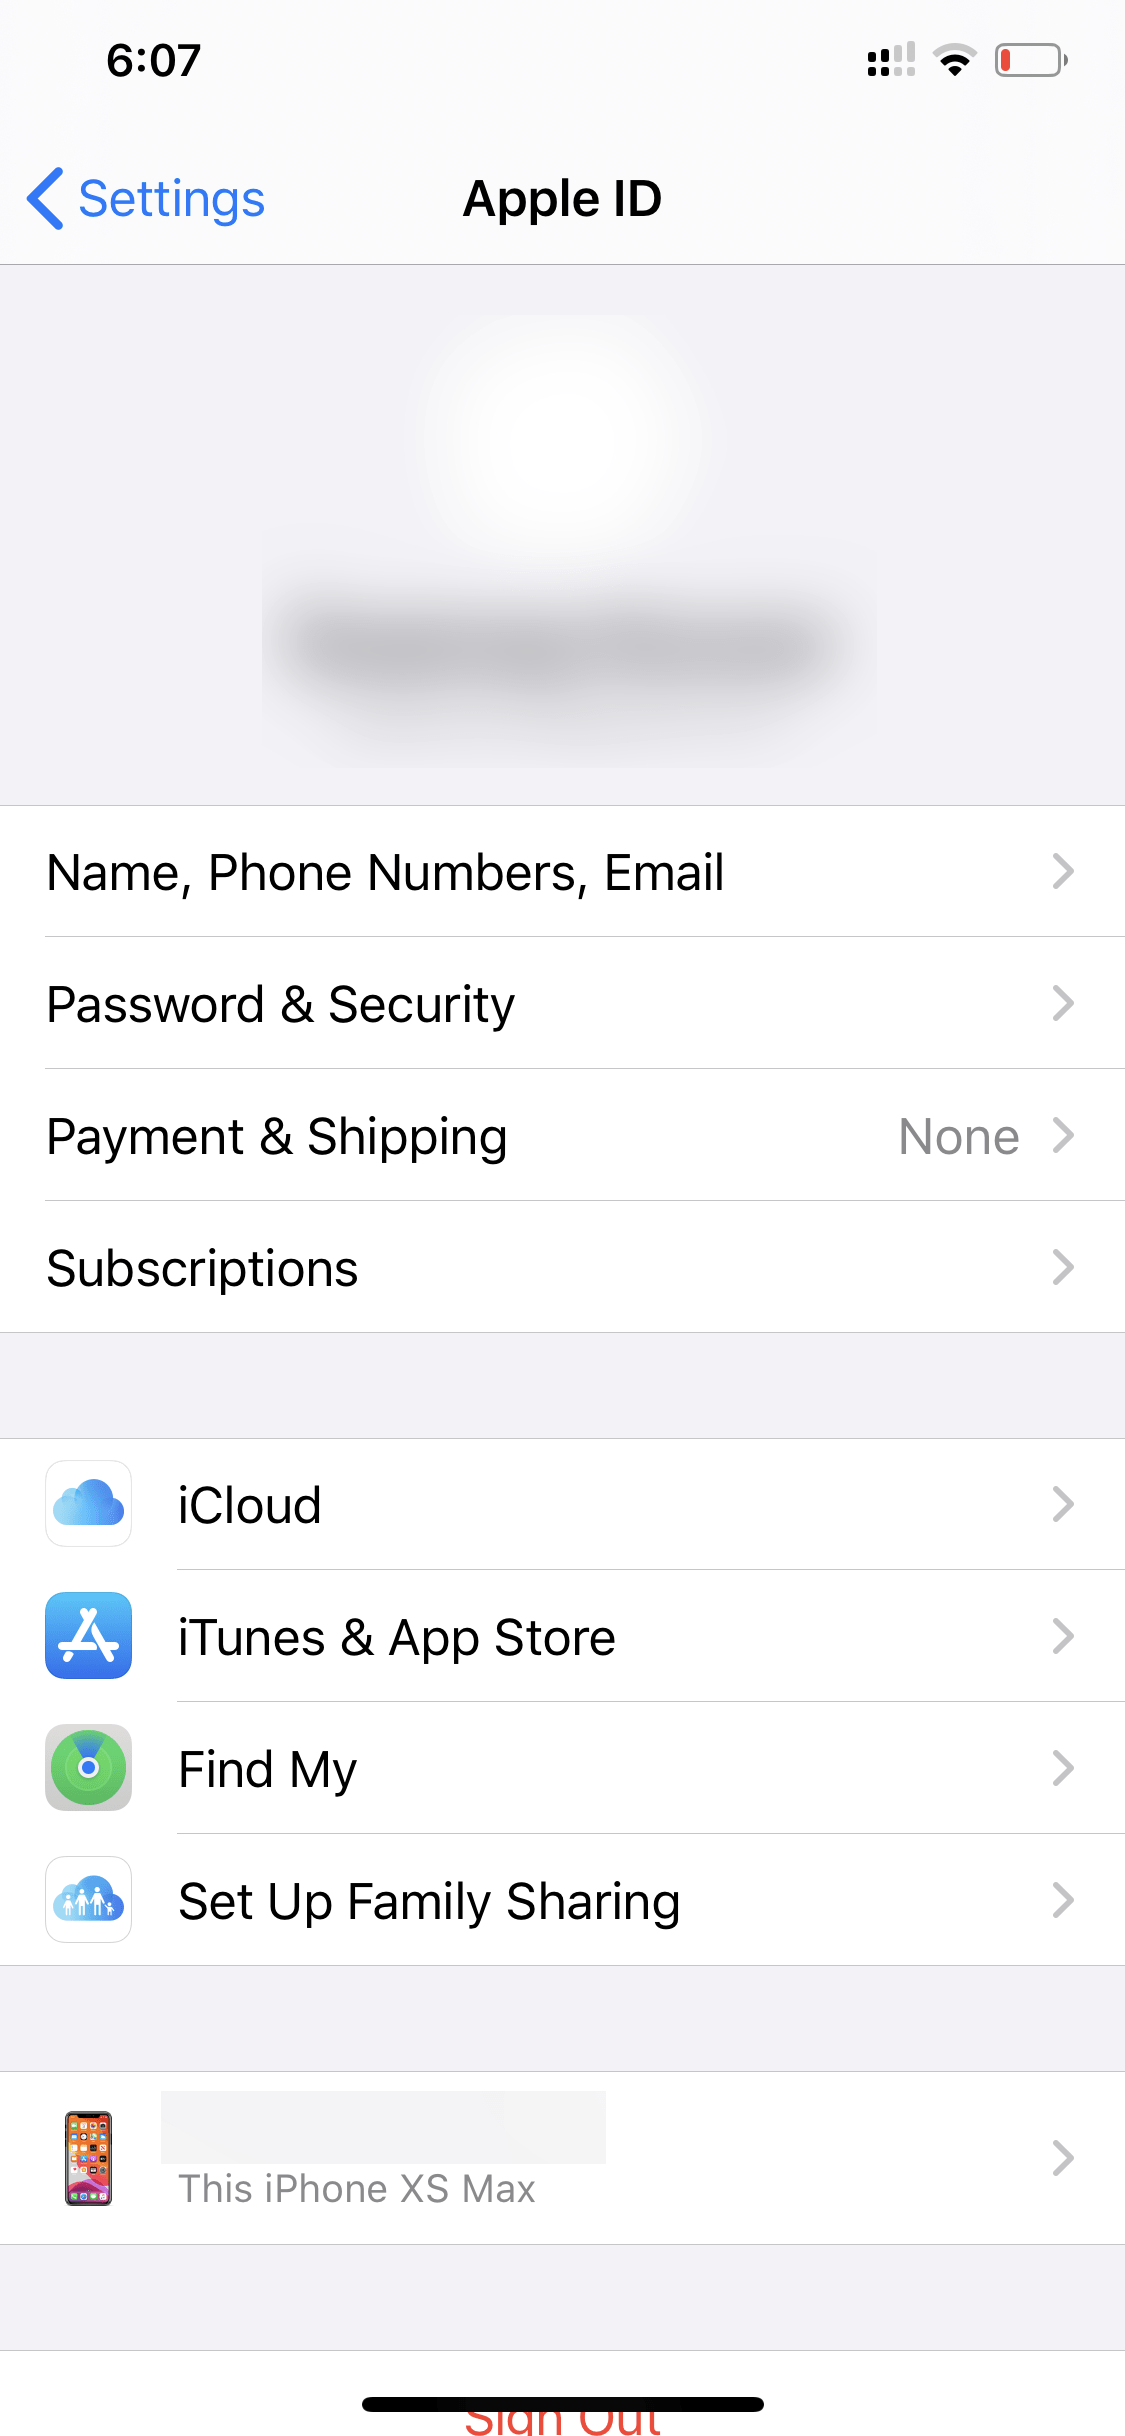
- First, on the other iPhone sign in with your Apple ID.
- Next, go to Settings, tap on your Apple ID account (top).
- Then, tap on Password and Security.
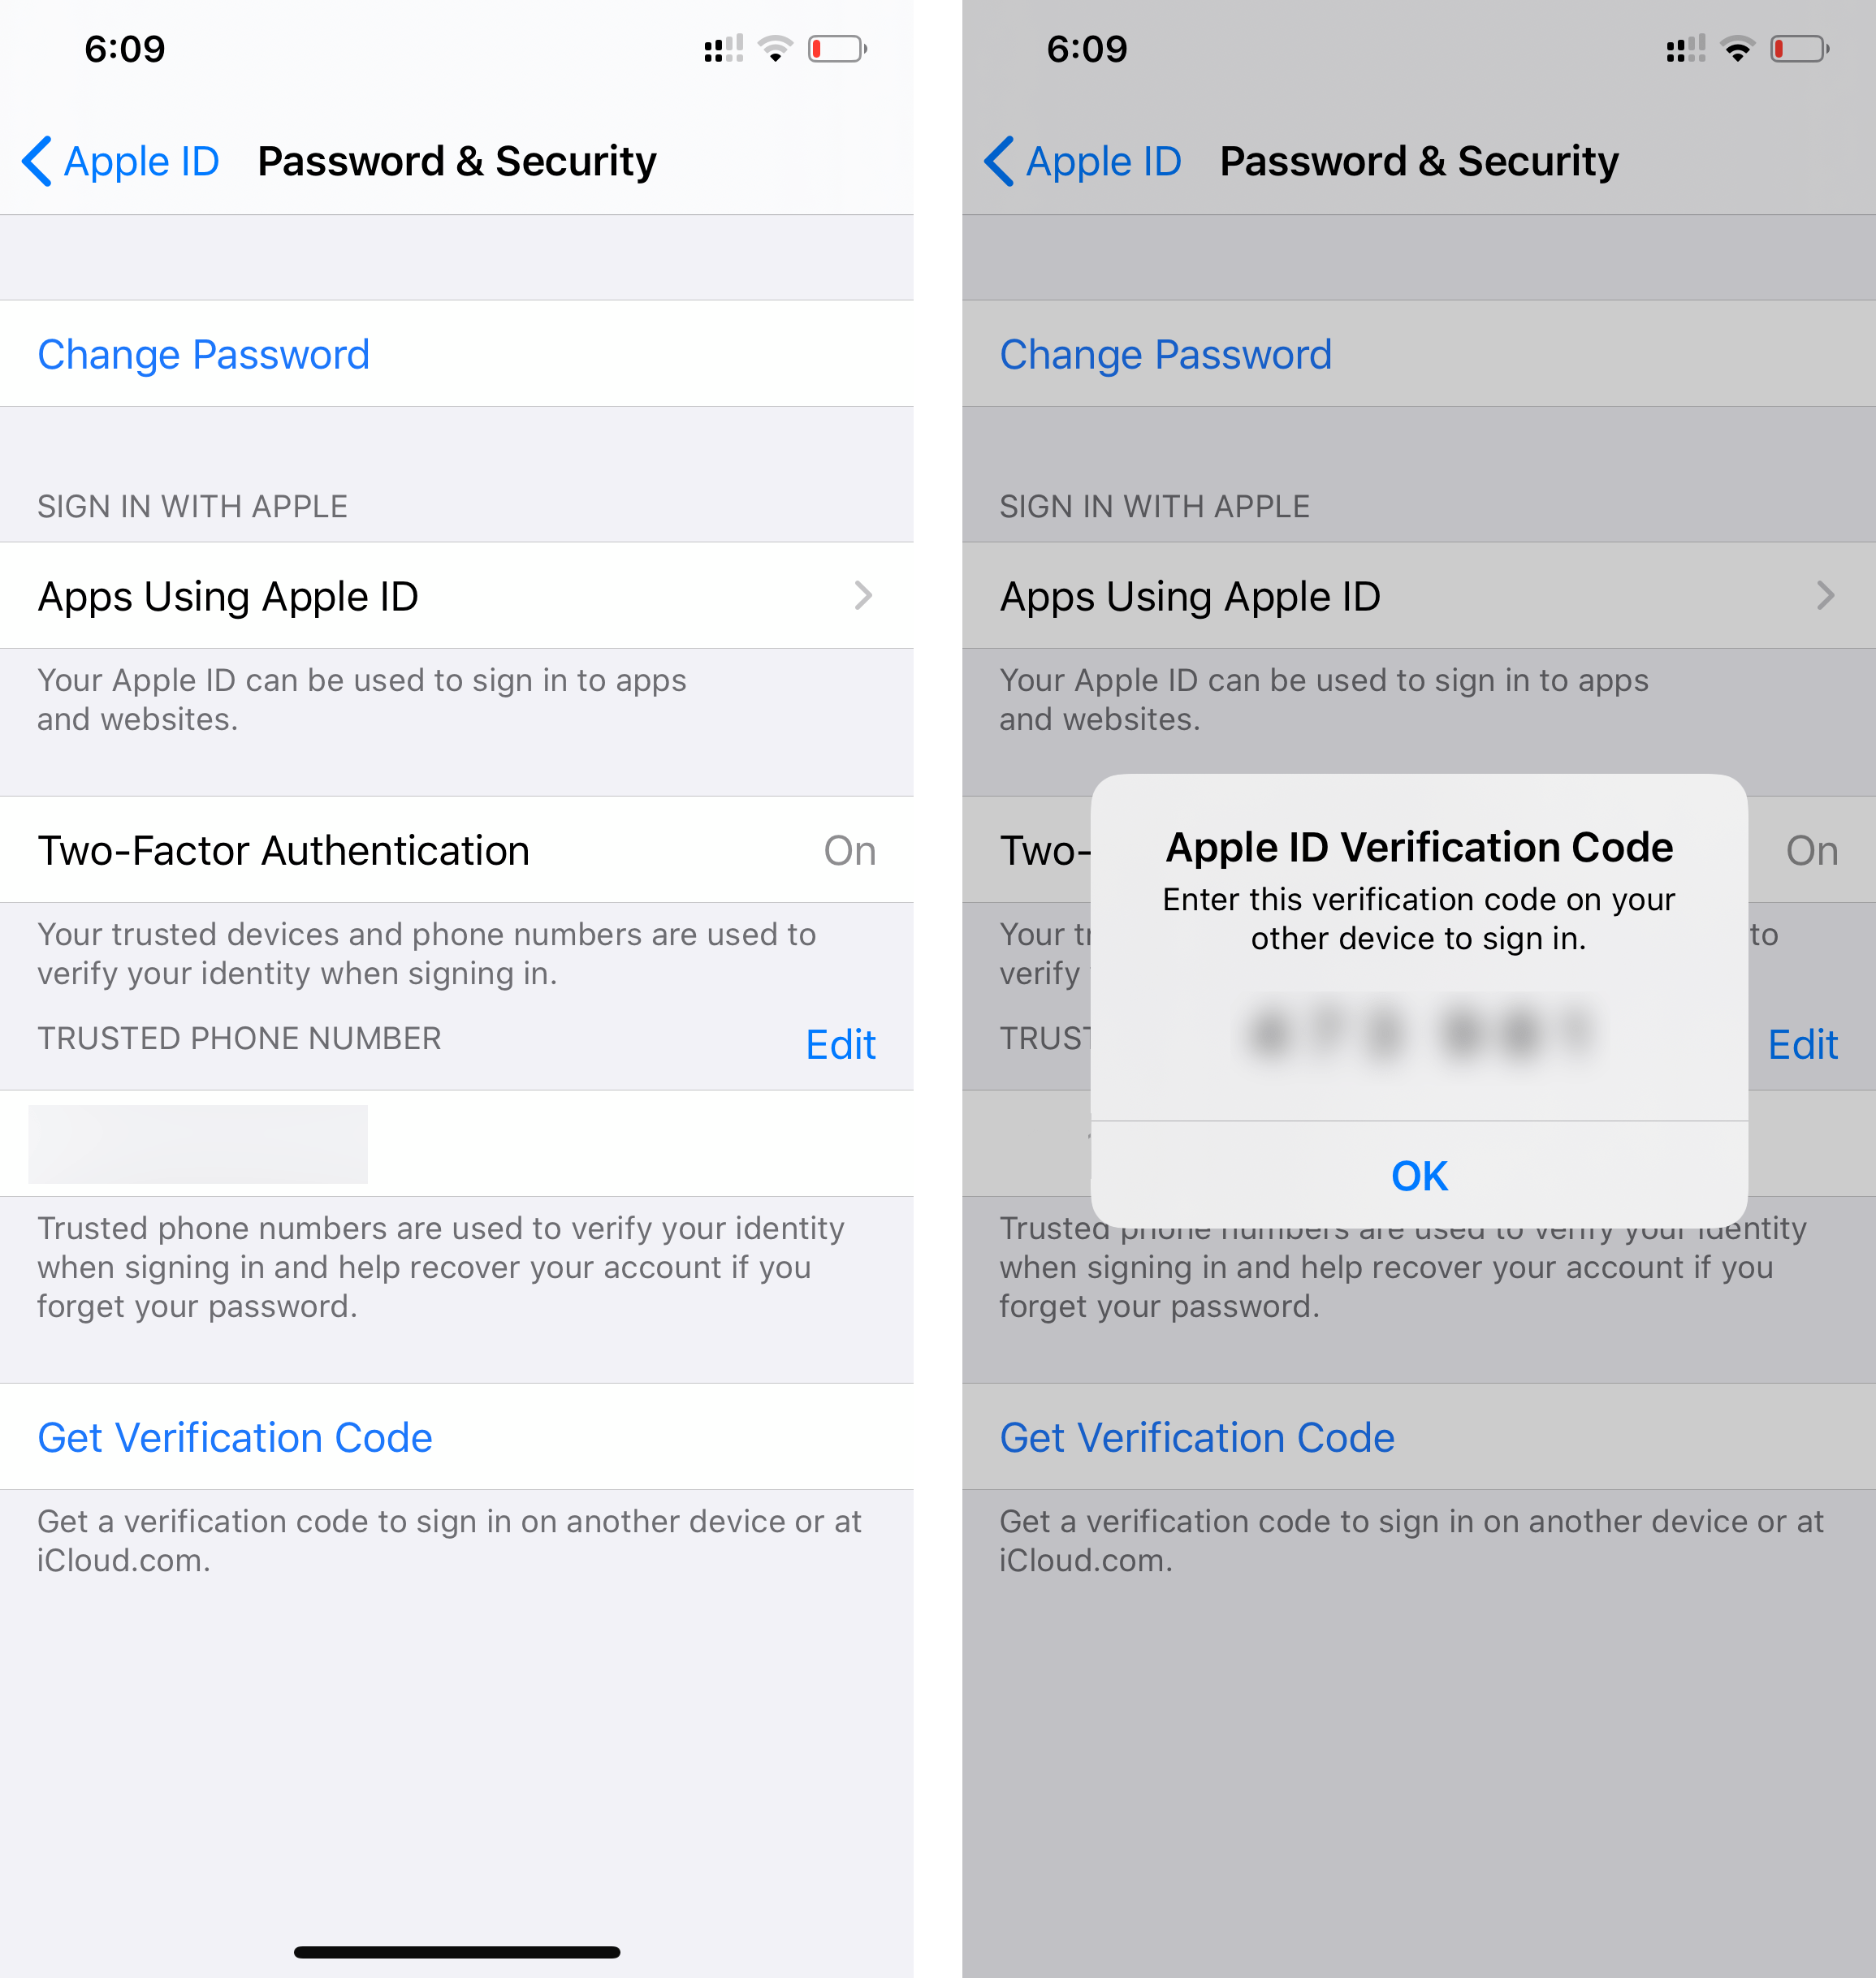
- Now, click Get Verification Code. You should receive a set of numbers.
- Finally, go ahead and enter the verification code into your iPhone with the error.
This should log you back in and sync your account to Apple’s servers.
8. Turn Off Any VPNs.
Remember why we had to reboot your Wi-Fi connection, restart your device, and try to connect either via Wi-Fi or cellular data? That’s because we wanted to reset your settings to its default trusted network connection.
VPNs may be advertised to hide your IP and data from malicious websites, but this hides your connection to Apple as well. As a security measure, most high-level servers deny VPNs which is probably why you’re unable to login to your Apple ID.
Here’s how you can turn off the VPN setting on your iPhone:
- Go ahead and open up your Settings.
- Next, look for and tap on the VPN.
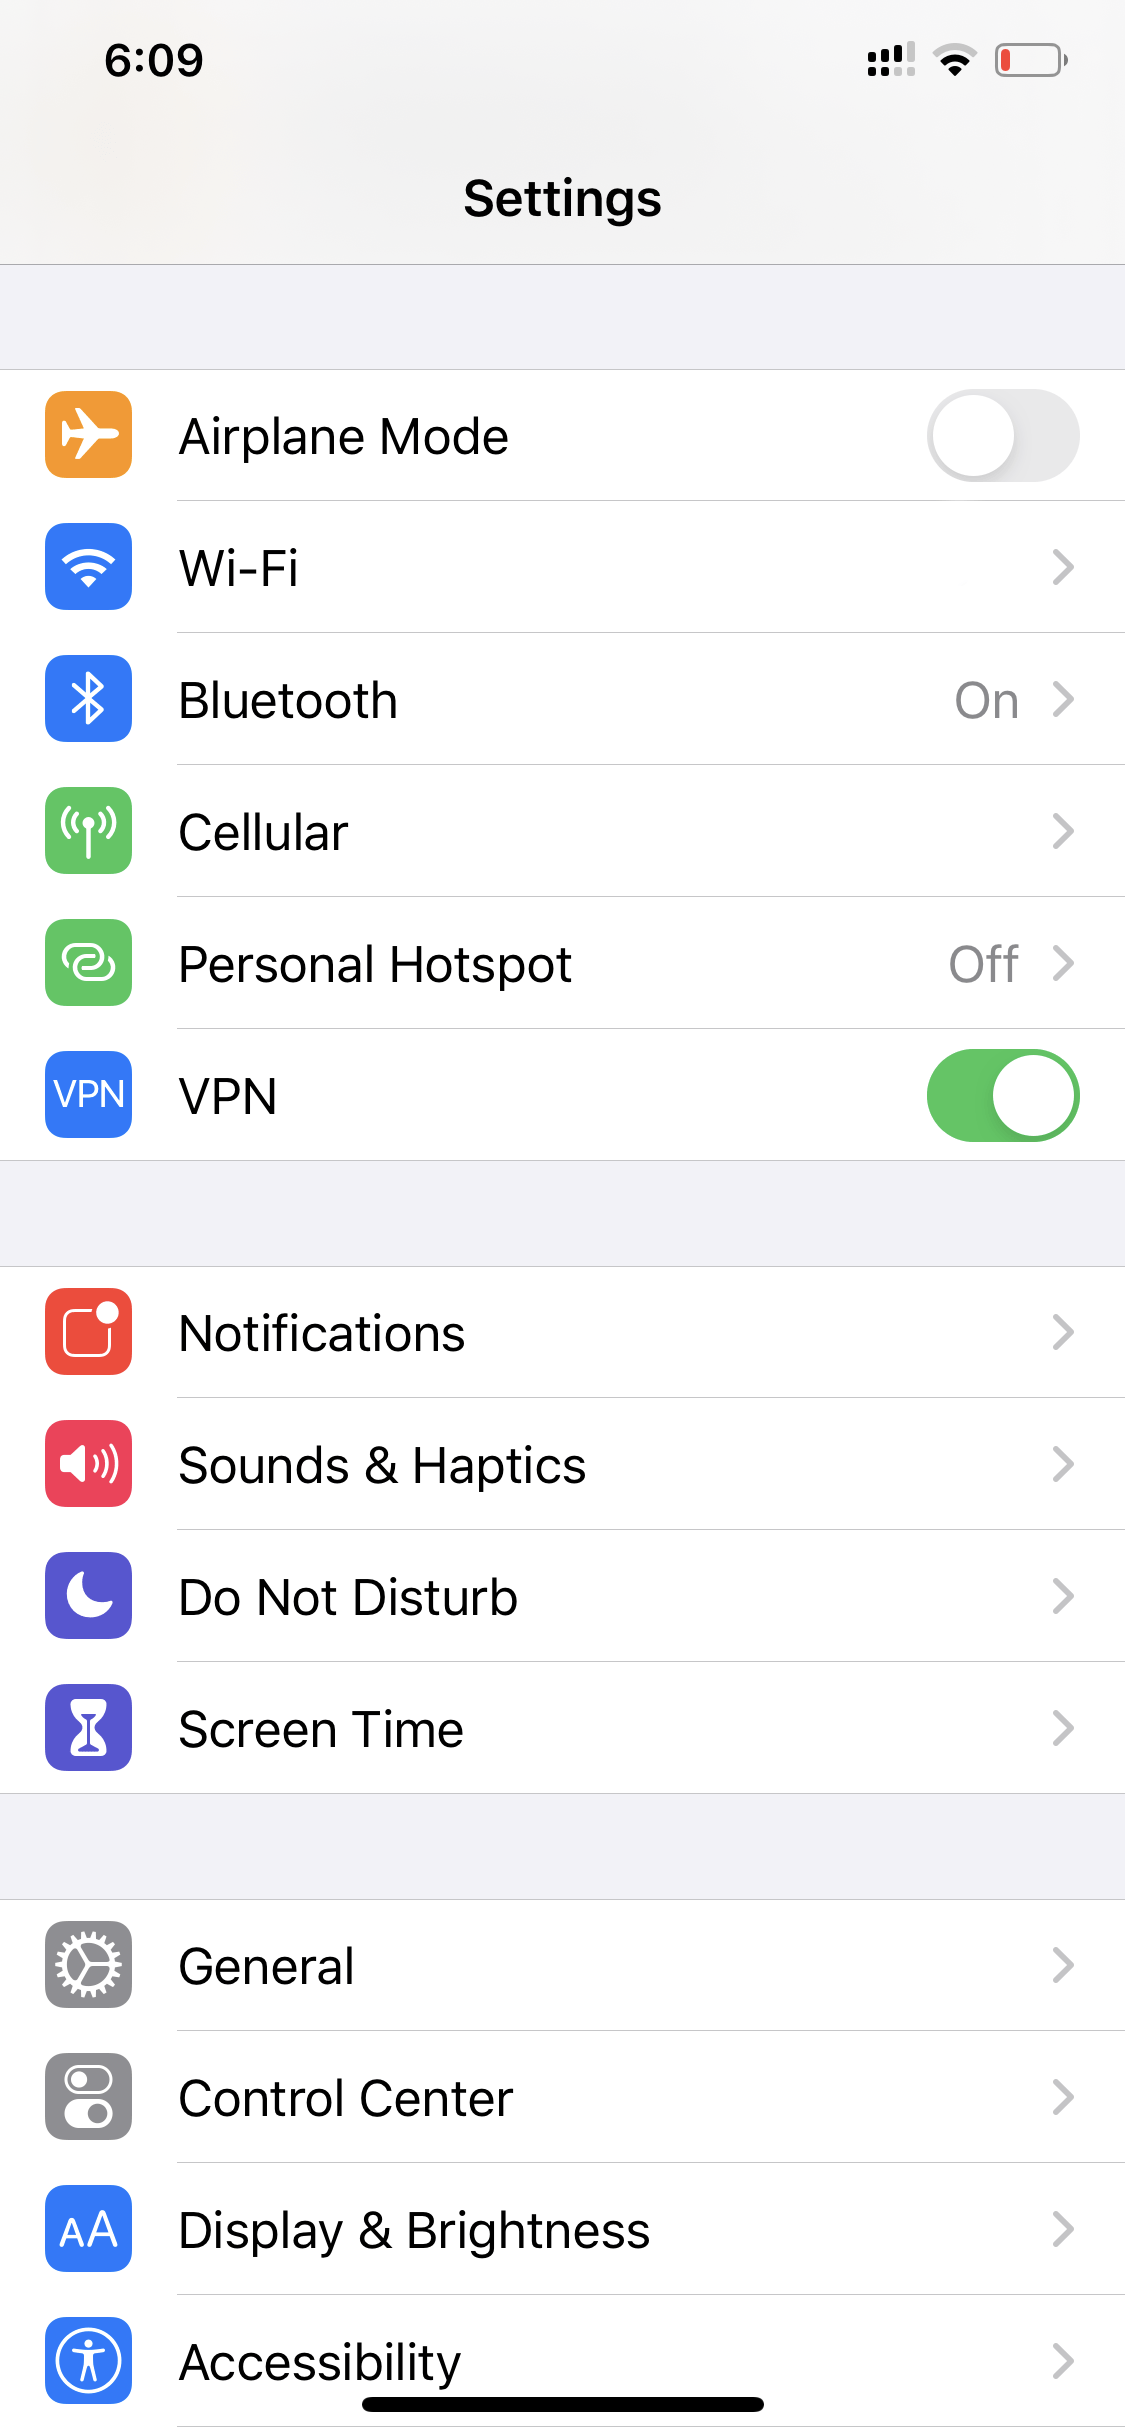
- Finally, toggle it off and try to connect your Apple ID account. If this has solved your problem, feel free to turn on your VPN again. This should not affect the currently signed in status of your Apple ID.
Alternatively, here’s how you can turn off the VPN on your Mac:
- First, open the Apple menu located at the top left of your screen.
- Now, click on System Preferences and Network.
- Then, from the Network window, go ahead and select the VPN connection in the left pane.
- Lastly, click on Disconnect.
Using a VPN is good internet practice and can be a vital defender against data miners, especially if you’re the type to access public networks. If this does not work for you, before you continue to the next methods, try and ask any of your household members if they’ve set a VPN either directly on the Wi-Fi modem or on your device.
Third-party VPNs do exist, and the only ones capable of turning it off would be the ones familiar with the application. If you can find a third-party VPN on your device, you can do a quick google search on how to turn it off if your household members are currently busy.
9. Change Your Apple ID Password.
Most individuals have associated their passwords with something important in their life, so it becomes easier to remember. Sadly, Apple has a history of randomly requiring its users to change their passwords.
Although some articles will claim that this is meant to update your old password to the new requirements set by Apple, this is often not the case as users have reportedly been forced to change their passwords despite having a secure password.
Changing your passwords frequently is a great way to maintain a healthy online life; however, we do understand that not everyone has the time to do this across all of their online accounts. Unfortunately, for Apple, sometimes this is a requirement. Perhaps changing your Apple ID password will finally let you log in.
Here’s how you can change your Apple ID password:
- First, open your Settings and click on your name/profile.
- Now, click on Password and Security.

- Go ahead and click on Change Password.
- Finally, enter your current password and your new one. You will be required to input your new password twice for verification.
Now go ahead and log in your Apple ID across all your devices. Hopefully, this should fix your connection error.
10. Reset Network Settings. (iPhone, iPad, and iPod Only)
If changing your preferences and settings did not work, then the problem may be with the networks you’re trying to connect to from your device. Resetting your network settings back to its default state may solve the problem.
Resetting your network settings will not compromise any personal data except your VPN, Wi-Fi passwords, and cellular settings which are networks your phone gets services from. Resetting them back to default will simply connect you to the standard servers of your region.
Here is the step-by-step process of resetting your network settings, below:
- First, open your Settings.
- Find and tap General.
- Next, tap on Reset.
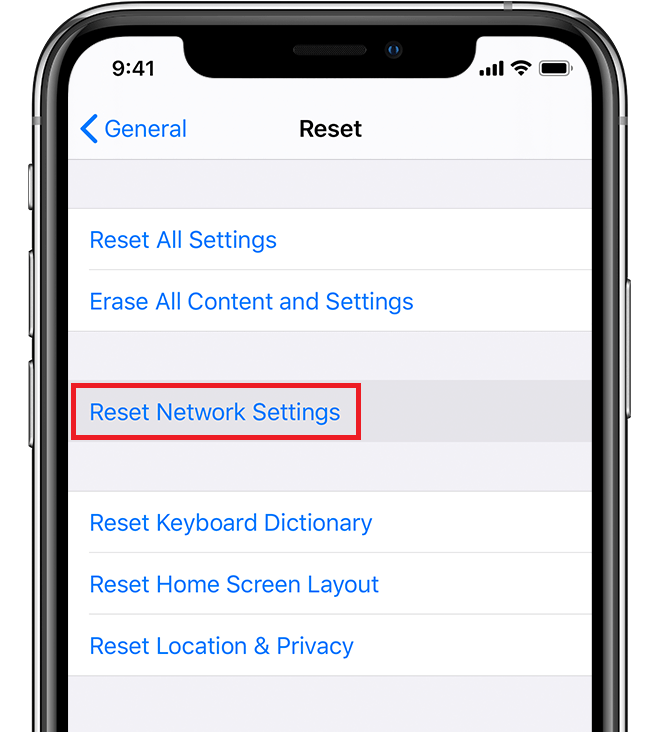
- Then, press Reset Network Settings.
- Lastly, restart your device.
Your networking settings should be reverted back to its default state from when it was produced and should be functioning like factory-quality iPhones.
11. Update Your Device’s Operating System.
Any Apple device can begin to get bugs and problems if its operating system is outdated.
Often enough updating your iOS or macOS fixes most problems, just like your connection error. Because bugs, glitches, and other performances require monthly updates and changes in code; regularly updating your device’s operating is a great way to avoid most errors and bugs.
Before updating, make sure your device has more than 40 percent battery life and is connected to a stable Wi-Fi connection (or LAN connection if you’re using a Mac). Updating can take as little as 5 minutes to an hour depending on the speed of your Wi-Fi network and hardware of your device.
Here are the steps to update your iOS for your mobile device:
- Go ahead and open your Settings.
- Next, tap on General.
- Now, go to Software Update.
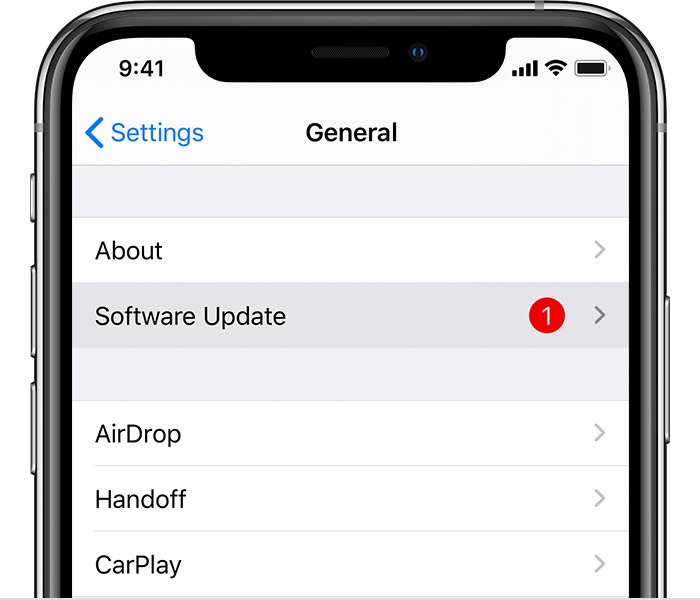
- If there is an update, simply tap Install Now.
Alternatively, here’s how you can update your macOS:
- First, open your Apple menu at the top left of your screen.
- Go to System Preferences.
- Finally, click on Software Update.
Updating your iOS or macOS should ensure that you have the latest version of the operating system running on your iPhone, iPad, Mac, and iPod. Additionally, this will allow you to log in to your Apple ID without any issues.
If all of these steps have failed, it might be in your best interest to contact Apple Customer Support for assistance instead. Their tech support team could help identify a problem in your phone or in their servers that cannot be fixed by just fiddling around your settings.
It’s also worth checking if you qualify for any warranty coverage for your device if you’re considering returning your product.
Now that you have reached the end of this article, we hope that this post helped provide solutions that helped fix your ‘call failed on iPhone’ issue. If you have other questions related to this article, please feel free to leave a comment below.
If this guide helped you, please share it.